
Bendix Disc Brake Service Manual: A Comprehensive Plan
This manual details servicing Bendix SB-6 and SB-7 air disc brakes, offering comprehensive guidance found within resources like Manualzilla, encompassing detailed procedures and component information.
Bendix disc brakes represent a significant advancement in commercial vehicle stopping technology, offering superior performance and reliability compared to traditional drum brake systems. These systems, particularly the SB-6 and SB-7 series detailed in service manuals available through resources like Manualzilla, are designed for heavy-duty applications.
Understanding the principles of operation, component identification, and proper service procedures – as outlined in these comprehensive manuals – is crucial for maintaining optimal braking efficiency and ensuring vehicle safety. The manuals provide detailed insights into the design, function, and maintenance of these critical systems, enabling technicians to diagnose and resolve issues effectively. Proper maintenance extends component life and minimizes downtime.
Historical Overview of Bendix Brake Systems
Bendix has a long and storied history as a pioneer in braking technology, dating back to the early 20th century with foundational work in hydraulic brake systems. Over decades, Bendix evolved, continually innovating to meet the demands of increasingly complex vehicles. The transition to air disc brakes, like the SB-6 and SB-7 series documented in service manuals found on platforms like Manualzilla, marked a significant leap forward.
These advancements focused on improved stopping power, reduced maintenance, and enhanced safety. The evolution reflects a commitment to reliability and performance, culminating in the sophisticated systems technicians service today, relying on detailed guides for proper upkeep and repair.
Types of Bendix Disc Brake Systems
Bendix offers a range of disc brake systems designed for various commercial vehicle applications. Key among these are the SB-6 and SB-7 air disc brakes, frequently detailed in service manuals available online, such as those hosted on Manualzilla. These systems differ in their specific design characteristics and performance capabilities.
The SB-6 represents an earlier generation, while the SB-7 incorporates enhancements for improved efficiency and durability. Understanding these distinctions is crucial for accurate diagnosis and repair, as service procedures may vary between models. Technicians rely on comprehensive documentation to correctly identify and service each type effectively.
SB-6 Air Disc Brakes
The Bendix SB-6 air disc brake system represents a foundational design in commercial vehicle braking technology. Service manuals, like those found on platforms such as Manualzilla, provide detailed schematics and procedures specific to this model. It utilizes a robust caliper design and a durable rotor to deliver reliable stopping power.
Key features include a compact envelope and efficient heat dissipation. Technicians servicing SB-6 brakes must be familiar with its unique components and adjustment mechanisms. Proper maintenance, as outlined in the service documentation, is vital for optimal performance and longevity, ensuring safe operation of the vehicle.
SB-7 Air Disc Brakes
The Bendix SB-7 air disc brake builds upon the SB-6 design, incorporating enhancements for improved performance and ease of service. Detailed service manuals, accessible through resources like Manualzilla, are crucial for technicians working with this system. Key upgrades often include optimized caliper designs and improved heat management capabilities.
The SB-7 offers increased braking torque and reduced maintenance intervals compared to its predecessor. Understanding the specific components and procedures outlined in the service documentation is essential for accurate diagnosis and repair. Proper adjustment and lubrication, as detailed in the manual, contribute to extended brake life and reliable operation.
Bendix Disc Brake System Components
Bendix disc brake systems comprise several critical components working in unison to provide stopping power. These include the brake caliper, housing the pistons and brake pads, and the rotor, against which the pads clamp. Service manuals emphasize the importance of inspecting these parts for wear and damage.
Further components are the brake lines and hoses, delivering hydraulic pressure, and the air compressor & dryer (in air brake systems), supplying compressed air; Understanding the function of each component, as detailed in comprehensive service documentation, is vital for effective maintenance and repair. Proper component interaction ensures optimal braking performance and safety.
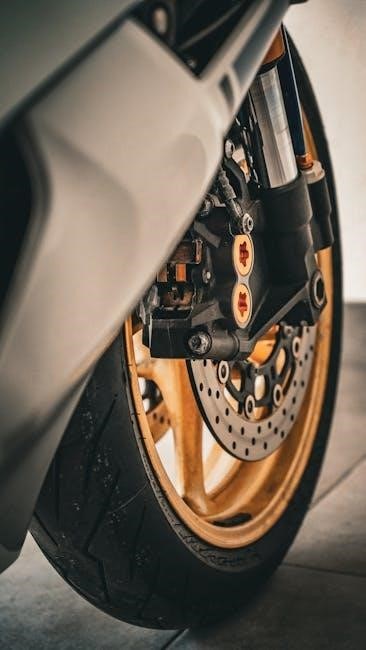
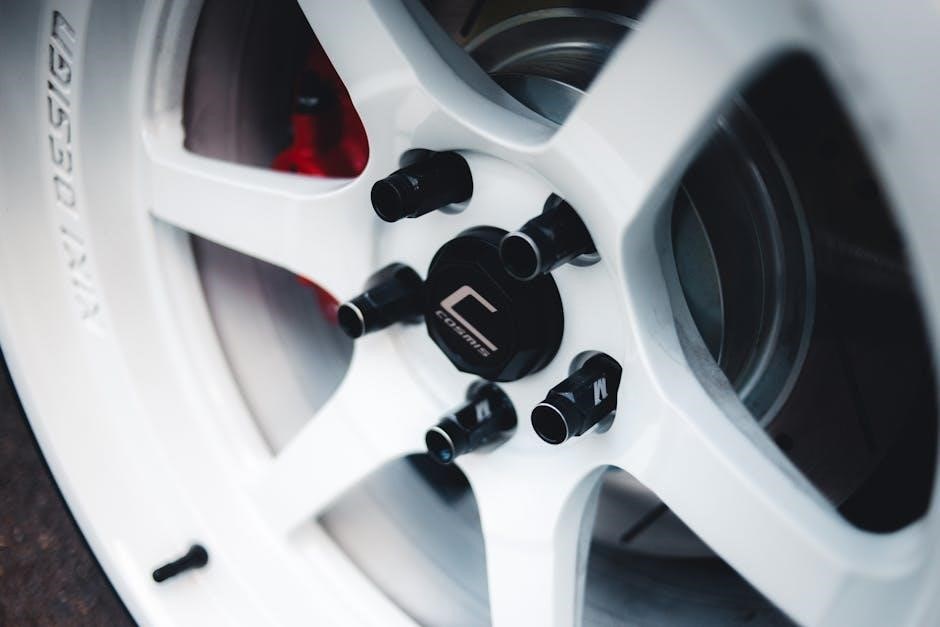
Brake Calipers
Bendix brake calipers are fundamental to the disc brake system, housing the pistons and brake pads. Service manuals detail their critical role in applying clamping force to the rotor. Calipers can be fixed or floating, influencing service procedures. Thorough inspection for leaks, corrosion, and piston movement is essential during maintenance.
Detailed manuals outline caliper removal and installation procedures, emphasizing proper torque specifications. Refurbishment often involves cleaning and resealing. Damaged calipers require replacement to maintain braking efficiency. Understanding caliper operation, as described in comprehensive service documentation, is crucial for safe and effective brake system repair.
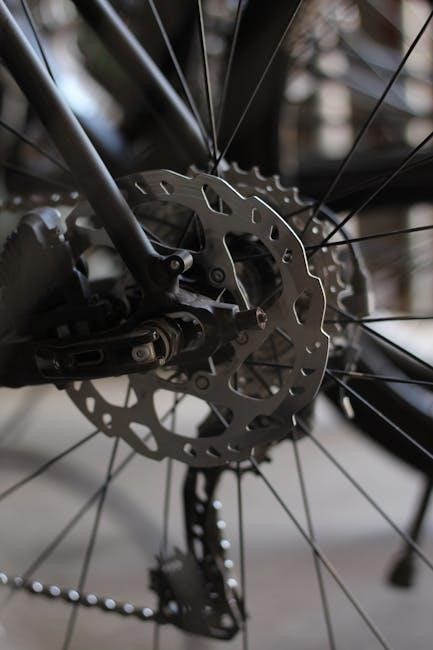
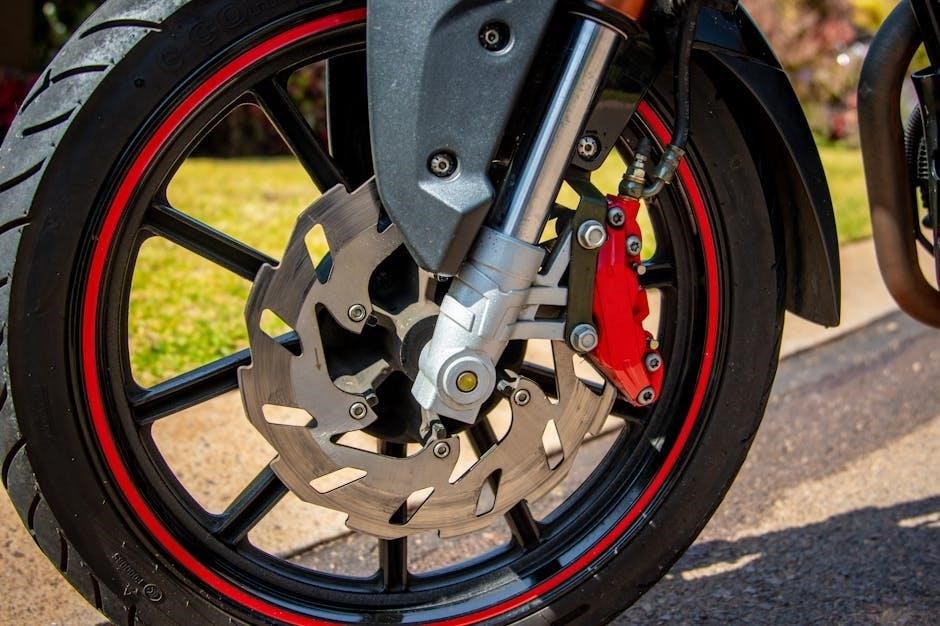
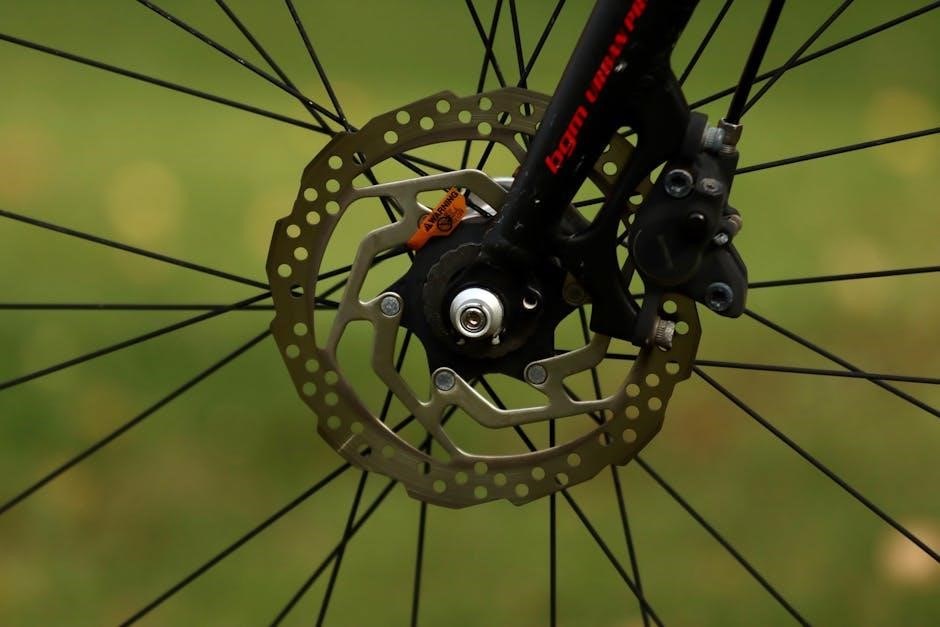
Brake Rotors
Bendix brake rotors are critical heat dissipation components, directly impacting braking performance. Service manuals emphasize the importance of regular rotor inspection for wear, cracks, and warping. Measuring rotor thickness is a key procedure, with minimum thickness limits specified to ensure safety.
Rotor refurbishment options include resurfacing to remove minor imperfections, but replacement is often necessary for severely worn or damaged rotors. Detailed documentation outlines proper mounting procedures and torque specifications. Ignoring rotor condition compromises braking ability; therefore, adherence to manual guidelines is paramount for maintaining optimal stopping power.
Brake Pads
Bendix brake pads are consumable items requiring periodic inspection and replacement. Service manuals detail procedures for assessing pad wear, emphasizing the importance of equal wear across the pad surface. Proper identification of the correct pad type for the specific Bendix system is crucial for optimal performance.
Cleaning brake pads is generally discouraged; inspection for cracks, delamination, and remaining friction material is preferred. Manuals provide torque specifications for secure pad installation. Worn brake pads significantly reduce braking efficiency and can damage rotors, so timely replacement, following service guidelines, is essential for safety.
Brake Lines and Hoses
Bendix disc brake systems rely on hydraulic pressure transmitted through brake lines and hoses. Service manuals emphasize thorough inspection for leaks, cracks, abrasions, and kinks. Steel brake lines offer superior durability compared to rubber hoses, but both require careful examination.
Proper torque specifications are vital when connecting brake lines to prevent leaks. Damaged hoses must be replaced immediately; never attempt repairs; Manuals detail the correct routing of brake lines to avoid interference with other components. Air in the brake lines compromises braking performance, necessitating bleeding after any line or hose replacement, following detailed procedures.
Air Compressors & Air Dryer (Related Systems)
Bendix air disc brakes, being air-operated, are intrinsically linked to the vehicle’s air supply system. Service manuals highlight the importance of a functioning air compressor and air dryer for optimal brake performance. The compressor must maintain adequate pressure, while the air dryer removes moisture, preventing corrosion and ice formation within the brake system.
Regular inspection of the air dryer’s purge valve and filter is crucial. Manuals detail testing procedures for compressor output and air dryer efficiency. Insufficient air pressure or excessive moisture will negatively impact braking, potentially leading to failure. Addressing issues within these related systems is often necessary during Bendix brake service.
Safety Precautions for Servicing
Prior to any Bendix disc brake service, strict adherence to safety protocols is paramount. Service manuals emphasize disconnecting the vehicle’s power supply and relieving air pressure from the system. Always wear appropriate personal protective equipment (PPE), including safety glasses and gloves, to shield against brake dust and fluids.
Brake dust contains hazardous materials; avoid inhalation and skin contact. Support the vehicle securely with jack stands – never rely solely on a jack. Manuals caution against working on damaged or corroded components. Ensure the work area is well-ventilated and free of flammable materials. Following these precautions minimizes risk during maintenance.
Tools Required for Bendix Disc Brake Service
Effective Bendix disc brake service necessitates a specific toolkit. Essential items include a socket set, wrenches (both standard and metric), torque wrench, and various screwdrivers. A brake caliper piston compression tool is crucial for retracting pistons during pad replacement. Service manuals recommend a micrometer for accurately measuring rotor thickness and runout.
Additionally, a flare nut wrench prevents damage to brake lines during disassembly. Pneumatic tools, like an impact wrench, can expedite certain tasks. A bleeding kit is vital for proper brake fluid exchange. Always consult the manual for specific tool recommendations related to SB-6 or SB-7 systems.

Inspection Procedures
Thorough inspection is paramount before any Bendix disc brake service. Begin with a visual inspection of all components – calipers, rotors, pads, and lines – for damage, cracks, or leaks. Utilize a dial indicator to check rotor runout, ensuring it’s within specification. Measuring rotor thickness is critical; minimum thickness limits are outlined in the service manual.
Carefully assess brake pad wear, noting remaining friction material. Inspect brake lines meticulously for corrosion, kinks, or fluid leaks. Air lines should also be checked for damage. Document all findings before proceeding with disassembly, referencing the manual for acceptable wear limits.
Visual Inspection of Components
A detailed visual inspection forms the foundation of any Bendix disc brake service. Begin by examining the brake calipers for signs of corrosion, cracks, or fluid leakage around piston seals and bleeder screws. Next, scrutinize the brake rotors for scoring, heat cracks, or uneven wear patterns.
Inspect brake pads for remaining friction material, ensuring even wear across the pad surface. Carefully check brake lines and hoses for cracks, abrasions, or bulges. Look for any signs of damage or deterioration. Document all observations before proceeding, referencing the service manual for acceptable conditions.
Measuring Rotor Thickness
Accurate rotor thickness measurement is crucial for Bendix disc brake service. Utilize a calibrated micrometer to measure rotor thickness at multiple points – typically four or more – across the braking surface. Compare these measurements against the manufacturer’s minimum allowable thickness specified in the service manual.
Rotor thickness variation (runout) should also be checked with a dial indicator. Excessive wear or insufficient thickness compromises braking performance and safety. Discard rotors that fall below the minimum specification or exhibit significant thickness variation, ensuring replacement with approved components.
Checking Brake Pad Wear
Regular brake pad wear inspection is vital during Bendix disc brake service. Visually assess pad thickness; most pads have wear indicators that become visible when nearing the end of their service life. Use a precision gauge to measure the remaining friction material accurately.
Compare measurements to the manufacturer’s minimum allowable thickness, detailed in the service manual. Uneven pad wear indicates potential caliper or hardware issues. Replace pads in pairs to maintain balanced braking. Ignoring worn pads compromises stopping power and can damage rotors, increasing repair costs.
Inspecting Brake Lines for Leaks
A thorough inspection of brake lines and hoses is crucial during Bendix disc brake service. Begin by visually examining all lines for cracks, abrasions, or bulges. Pay close attention to connections – fittings, banjo bolts, and hose ends – for any signs of fluid leakage.
Gently flex hoses to check for deterioration. Use a clean cloth to wipe down lines and reveal potential leaks. Any detected leaks necessitate immediate repair or replacement of the affected component. Compromised brake lines severely impact braking performance and pose a significant safety risk.
Disassembly Procedures
Proper disassembly is vital for effective Bendix disc brake service. Begin by safely lifting and securing the vehicle. Loosen lug nuts on the wheel being serviced. Carefully remove the wheel, then proceed to disconnect the brake hose from the caliper.
Next, detach the caliper mounting bolts, allowing for caliper removal. Subsequently, remove the rotor retaining screws or hardware, freeing the rotor. Finally, compress the caliper piston and remove the old brake pads. Document the process and retain all hardware for reassembly, ensuring a smooth and accurate service.
Caliper Removal
Removing the Bendix disc brake caliper requires precision. First, disconnect the brake hose, carefully containing any fluid spillage. Then, locate and remove the caliper mounting bolts – typically two bolts securing it to the caliper bracket.
Support the caliper as you remove the final bolt to prevent damage to the brake line. Gently slide the caliper off the rotor, taking care not to scratch the rotor surface. Inspect the caliper slide pins for corrosion or damage during removal. Proper support and careful handling are crucial for a successful removal.
Rotor Removal
Removing the Bendix disc brake rotor typically begins after caliper removal. Locate and loosen the rotor retaining screws, often found on the rotor’s hat. These screws secure the rotor to the wheel hub. Once loosened, gently tap the rotor face with a soft mallet to break it free from any rust or corrosion.
Carefully pull the rotor straight off the hub, avoiding any forceful twisting motions. Inspect the hub surface for damage or debris before reinstalling a new or resurfaced rotor. Handle the rotor with care to prevent warping or cracking, and always support its weight during removal.
Brake Pad Removal
Removing Bendix brake pads usually involves disconnecting any retaining clips or springs that secure them within the caliper. Carefully slide or pry the pads away from the rotor, noting their orientation for correct reinstallation. Inspect the pad shims and ensure they are in good condition; replace if damaged or worn.
Be mindful of brake dust, which may contain hazardous materials – wear appropriate protection. Once free, examine the pads for even wear and thickness. Uneven wear can indicate caliper or rotor issues. Dispose of old pads responsibly, following local regulations.
Cleaning and Refurbishment
Thorough cleaning is vital during Bendix disc brake refurbishment. Use a brake cleaner specifically designed for this purpose to remove dust, grime, and old brake fluid from calipers and related components. Avoid harsh solvents that could damage seals. Inspect caliper pistons for corrosion or damage; rebuild or replace if necessary.
Rotor refurbishment may involve resurfacing to remove scoring and ensure proper pad contact. However, always check rotor thickness to remain within manufacturer’s specifications. Clean brake pads by gently brushing away loose debris, but avoid using solvents on them.
Cleaning Brake Calipers
Effective Bendix disc brake service requires meticulous caliper cleaning. Begin by disconnecting brake lines, carefully capping them to prevent fluid loss. Utilize a dedicated brake cleaner, spraying liberally to dissolve brake dust, corrosion, and old fluid. Pay close attention to piston areas and slide pins, ensuring free movement.
Inspect rubber boots for tears or damage, replacing them if compromised. Use a soft brush to remove stubborn residue, avoiding abrasive materials that could scratch surfaces. Thoroughly dry all components before reassembly, preventing contamination and ensuring optimal performance.
Rotor Refurbishment (Resurfacing/Replacement)
Bendix disc brake rotor condition is critical for safety. Inspect for cracks, heat spots, or excessive wear. Measure rotor thickness; if below the manufacturer’s minimum specification, replacement is mandatory. Resurfacing is an option if the rotor meets minimum thickness requirements, restoring a smooth, even braking surface.
Utilize an on-car or off-car brake lathe, following precise procedures to maintain parallelism and proper finish. Avoid aggressive material removal, preserving rotor integrity. If significant damage exists, or resurfacing reduces the rotor below spec, replacement with a new rotor is the only safe solution.
Brake Pad Cleaning/Inspection
Bendix disc brake pad inspection is vital during service. Examine pads for remaining friction material; replace if worn to the wear indicators or minimum thickness. Inspect for uneven wear, indicating potential caliper or hardware issues. Check for contamination – oil, grease, or brake fluid reduce effectiveness.
Cleaning pads is generally not recommended; friction material porosity absorbs contaminants. If minimal surface debris exists, a gentle brush can remove it. Severely contaminated pads must be replaced. Always replace pads in pairs, ensuring balanced braking and preventing uneven wear on rotors.
Assembly Procedures
Bendix disc brake assembly demands precision. Begin with rotor installation, ensuring proper alignment and torque specifications are met. Next, install brake pads, applying a small amount of brake caliper grease to contact points to prevent sticking. Carefully mount the caliper over the pads and rotor, securing it with the appropriate bolts and torque values.
Double-check all connections, verifying proper hardware usage. Connect brake lines, ensuring they are free from kinks or damage. Finally, perform a thorough system bleed to remove air and restore optimal braking performance. Always refer to the service manual for specific torque specifications and procedures.
Brake Pad Installation
Proper brake pad installation is crucial for safety and performance. Before installation, inspect the new pads for any defects. Apply a thin layer of high-temperature brake caliper grease to the shims and contact points on the caliper bracket – avoid getting grease on the friction surface!
Carefully position the brake pads into the caliper bracket, ensuring they seat correctly. Secure them with the appropriate retaining clips or hardware, following the service manual’s torque specifications. Verify free movement of the pads within the caliper. Incorrect installation can lead to uneven wear or reduced braking efficiency.
Rotor Installation
Correct rotor installation is vital for consistent braking and preventing warping. Before mounting, thoroughly clean the hub surface, removing any rust or debris. Carefully align the rotor with the wheel studs and slide it into position. Ensure the rotor sits flush against the hub and isn’t cocked or stressed.
Install wheel lug nuts hand-tight, then torque them in a star pattern to the manufacturer’s specifications. Avoid over-tightening, which can distort the rotor. After installation, verify rotor runout with a dial indicator to ensure it’s within acceptable limits. A warped or improperly installed rotor will cause brake pulsation.
Caliper Installation
Proper caliper installation ensures optimal braking force and prevents uneven pad wear. Carefully position the caliper over the brake rotor, aligning the piston with the pad contact surface. Install caliper mounting bolts, lubricating threads to prevent seizing. Torque the bolts to the manufacturer’s specified value in a staged pattern.
Ensure the caliper slides freely on its mounting bracket. Connect the brake line, tightening the fitting securely to prevent leaks. After installation, pump the brakes to seat the piston and pads. Verify proper operation before returning the vehicle to service. A correctly installed caliper is crucial for safety.

Bleeding the Bendix Disc Brake System
Bleeding removes air from the brake lines, restoring firm pedal feel and effective braking. Begin with the wheel furthest from the master cylinder. Connect a clear hose to the bleed screw and submerge the other end in fluid. Slowly pump the brake pedal several times, then hold it down.
Open the bleed screw briefly while the pedal is depressed, allowing fluid and air to escape. Close the screw before releasing the pedal. Repeat this process until bubble-free fluid flows. Repeat at each wheel, ensuring the master cylinder reservoir remains full. Proper bleeding is vital for safe operation.
Troubleshooting Common Issues
Common problems include squealing noises, often due to worn or glazed pads, or minor rotor imperfections. Pulling to one side suggests a caliper issue – perhaps a sticking piston or contaminated pads. Reduced braking performance can stem from air in the system, low fluid, or severely worn components.
Inspect pads and rotors for wear and damage. Check brake lines for leaks and ensure proper fluid levels. Bleed the system if air is suspected. Address any caliper malfunctions promptly. Thorough diagnosis is key to restoring optimal braking function and safety.
Squealing Noises
Squealing during braking often indicates worn brake pads, but can also result from glazing, rust formation, or debris lodged between the pad and rotor. Inspect pads for remaining material and surface condition; replace if necessary. Check rotors for scoring or damage that could contribute to noise.
Apply a thin layer of brake quiet compound to the back of the pads – avoid getting it on the friction surface; Ensure proper caliper function to prevent uneven pad wear. A thorough cleaning of the braking components can eliminate debris. Persistent squealing may require rotor resurfacing or replacement.
Pulling to One Side
A vehicle pulling to one side during braking suggests an imbalance in the braking force applied to each wheel. Inspect brake pads on both sides for uneven wear – a significant difference indicates a problem. Check brake calipers for proper operation; a seized or sticking caliper can cause uneven braking.
Examine brake hoses for restrictions or damage that could impede fluid flow. Ensure rotors are free from warping or damage. Bleed the brake system to eliminate air pockets that might affect pressure. Verify proper adjustment of the slack adjusters on air brake systems to ensure equal application.
Reduced Braking Performance
Diminished braking power necessitates a thorough system evaluation. Begin by inspecting brake pad thickness; worn pads drastically reduce stopping ability. Check rotor condition for excessive wear, scoring, or heat cracks, impacting friction. Examine brake lines and hoses for leaks or damage, compromising hydraulic pressure.
Verify air compressor output and air dryer functionality in air brake systems, ensuring adequate pressure. Bleed the system to remove air bubbles. Inspect calipers for proper operation and ensure they aren’t seizing. Address any ABS malfunctions, as this system is crucial for optimal performance.
Bendix Disc Brake System Maintenance Schedule
Regular maintenance is vital for optimal Bendix disc brake performance and longevity. Every 6 months, conduct a visual inspection of all components – lines, hoses, calipers, and rotors – for damage or leaks. Check brake pad wear and replace as needed, typically every 25,000-50,000 miles depending on usage.
Inspect rotor thickness and resurface or replace if below minimum specifications. Bleed the brake system annually to remove air and maintain hydraulic efficiency. Air dryer cartridges should be replaced according to manufacturer’s recommendations. Lubricate caliper slide pins to prevent seizing and ensure smooth operation.